Omni-Stand Tutorial (1/300 B-17)
Omni-Stand Tutorial for 1/300 scale B-17 Bomber
This tutorial will show you how to attach an Omni-Stand mounting peg to a Scotia 1/300 scale B-17 Bomber. They are available here.
What you need:
Hobby Knife
Epoxy
Drill bits
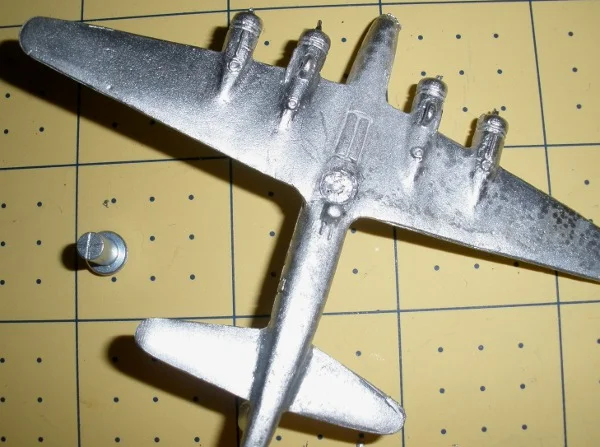
This model is rather heavy and is large enough to have a hole drilled into it. This will give us a secure point of contact so the peg doesn't snap off during use.
First step is to prep the mounting peg. Score the top several times to give it a rough surface for the epoxy to stick to. You can score the miniature as long as your careful not to score to large an area.
Now we can move on to drilling holes into the plane. We start with a smaller drill bit to get a good start on the hole. We balanced the model on the top of an assembled Omni-Stand. This gave us a good idea where the center of gravity for the model is.
Now we can move on to widening the hole to accept the mounting peg. The final size for the hole is 3/16"
Now to mix the epoxy. We use our mixing syringes filled with some Devcon 30 minute epoxy. We recommend epoxy for this because most other option like CA glue are to brittle and not strong enough to give you a permanent hold.
Now we attach the mount in the hole.
Now we wait for the epoxy to cure. Once that is done the plane is ready for use with the Omni-Stand system. This plane is a little heavy for the our sphere magnetic mounts. It works great the flat telescoping rods or any of the standard Omni-Stand pegs.

