Programming the Starfighter Dial

This tutorial is for programing our Universal Starfighter Dials.
It's easier to open the dial or you can use the chart that comes with the expansions. This will tell you what moves you need to program into the dial.

Crayons are the best way to quickly and easily add color to the etching on the dial. I used a bright red and green for visibility. White is good for the standard moves and black will allow you to erase a move that isn't available.

Rub the tip of the crayon into the etching. Be careful to not get any crayon wax into adjacent moves because it is a pain to get back out. This dial was programmed to the X-wing dial. So the 1-90 moves are not available. Filling those with the black crayon will make them all but disappear once it is assembled. Use the corresponding colors for all the other moves.

Once the dial is complete it is a good idea to double check it with all the moves and make sure nothing went wrong. You can use your finger to wipe away any of the extra wax that has collected on the surface. A damp paper towel might help is it is being stubborn.

Assembling the dial is easy. It is pressure fit onto the female end of the screw and then you simply screw the top into it. Don't over tighten the screw. It will strip the threads and then you'll have problems removing it the next time you need to. You can also leave the top off. That allows the dials to sit more flush on the table when they are upside down. The fit is tight enough to keep it in place.

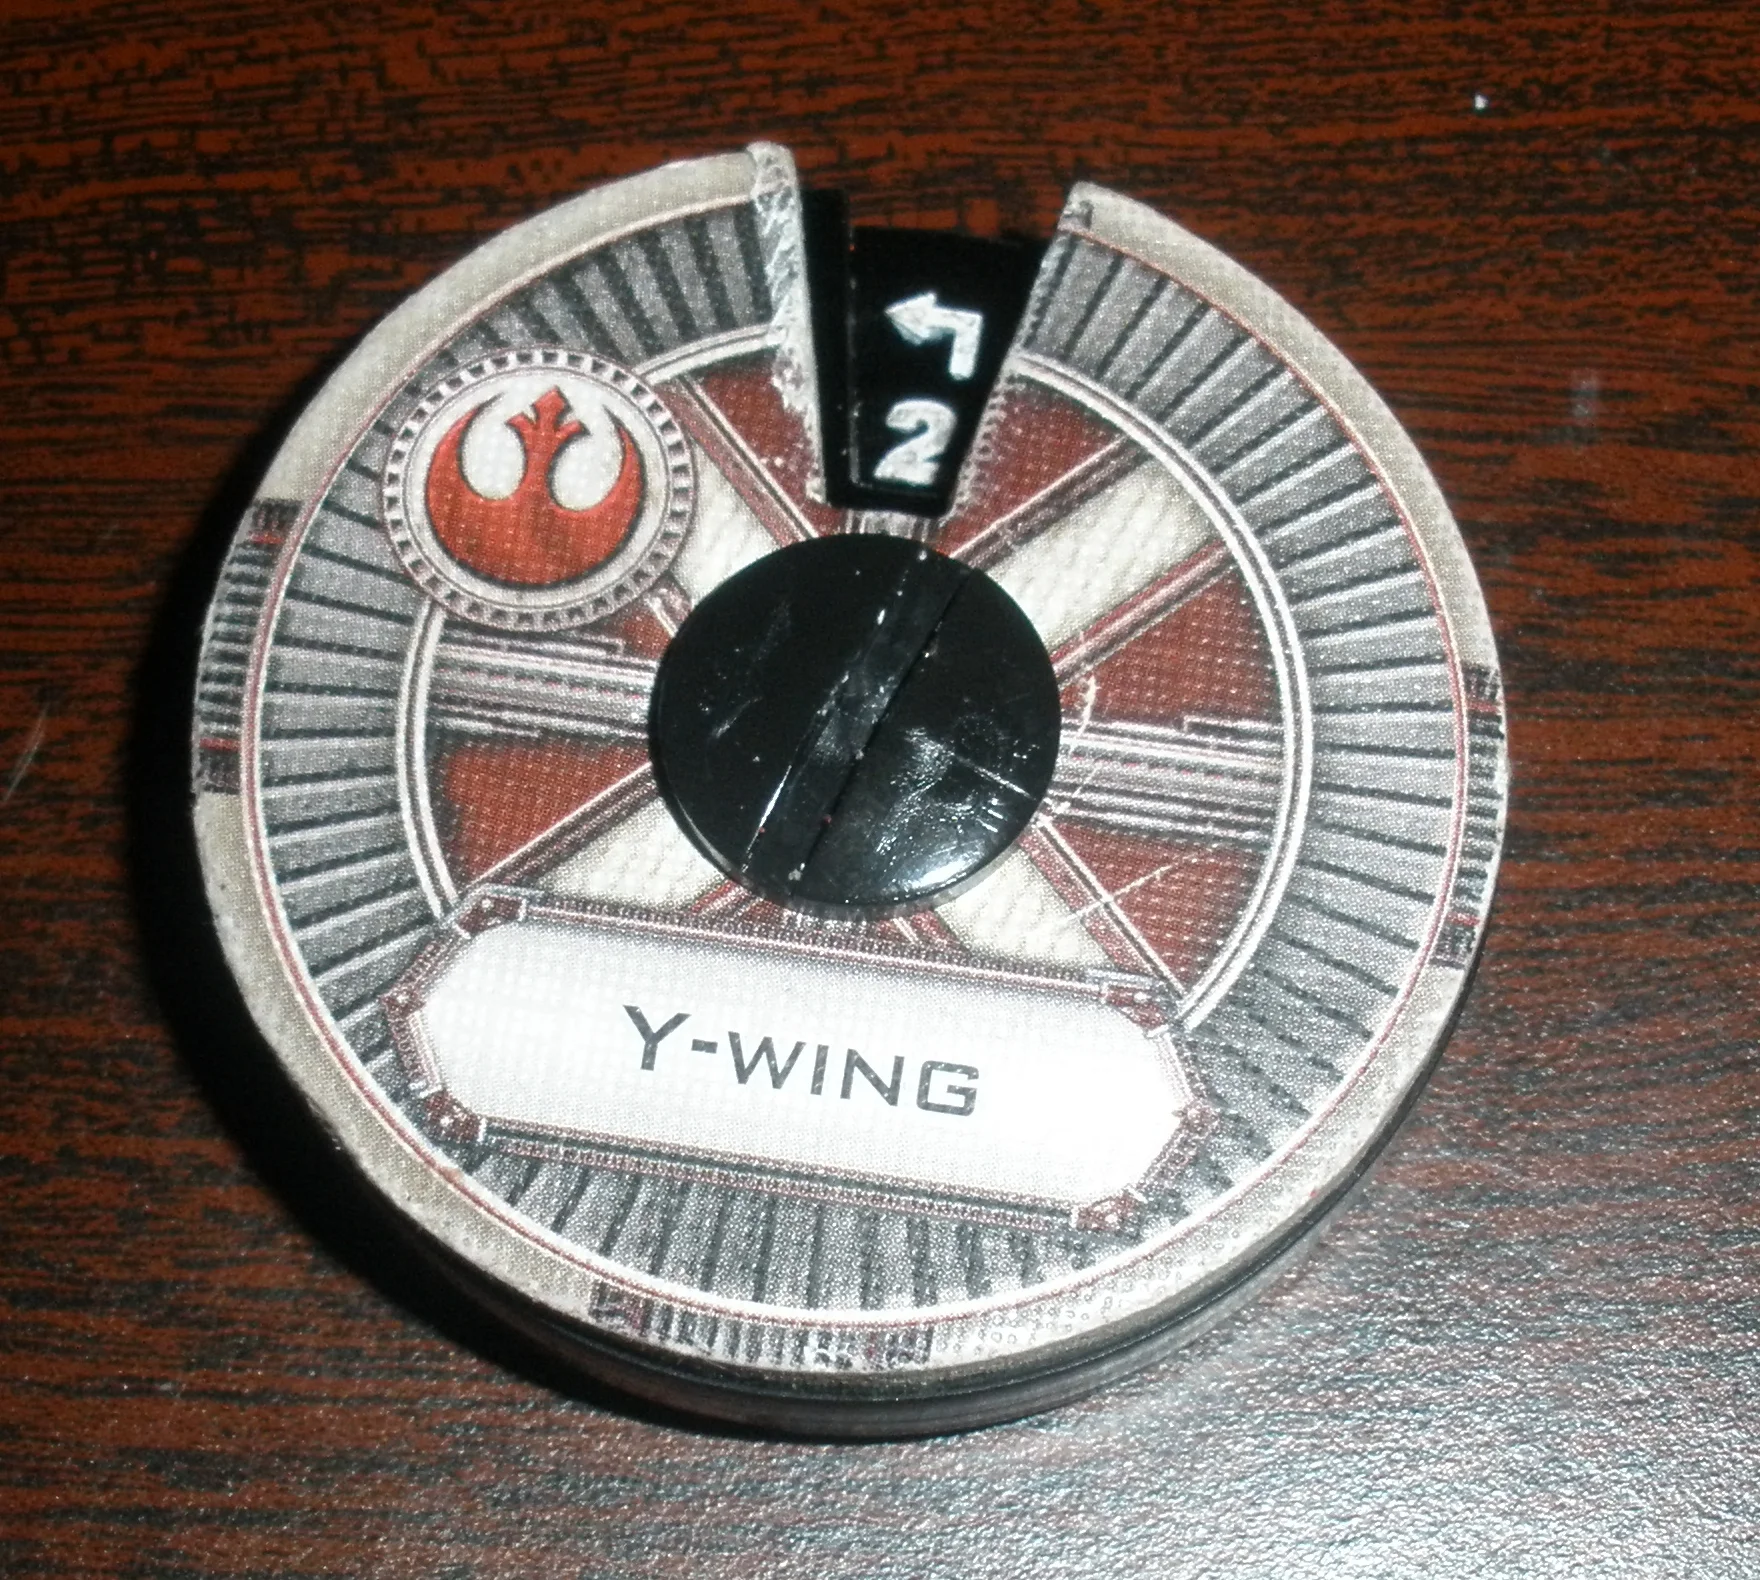
(Optional) For easy identification, you can take your old dial top and add it to the new acrylic ones. The male screw will fit through the hole and allow you to tighten it down to hold it in place. You can also use some glue if you don't want it to move at all.

Here is a pic of the completed dial with the original top attached.
