

Spartan Games Large Model Omni-Stand Conversions
Spartan Games has some beautiful and rather large models available for several of their games. This tutorial will show you how to convert miniatures with several pegs over to a single Omni-Stand rod. The strength and versatility of the Omni-Stand makes it a great match for those hefty resin models.
First we will start with the Terran Dreadnaught.

You will need:
3/16" drill bit
glue
The dreadnaught has two holes for acrylic rods on the bottom.

We are going to use the hole closest to the engine. This should help balance the model.
We need to widen the hole first with the 3/16" drill bit. This can be done by hand or with a small drill. The existing hole acts like a great pilot for the bit and this model is rather thick so there is very little chance of drilling through the top. Test fit the mount as you work deeper. You only need to drill deep enough for the flange to touch the model.

It usually isn't a good idea to prime the miniature before drilling. The damaged paint is a good example of why. Lucky the flange covers most of it. This model is already primed so I went ahead and glued the mount in. This is a matter of preference. If you paint the mount it will stand out less and on a spaceship like this is will almost appear as part of the model.

I usually use super glue when the mount can be recessed all the way in like this. Surface mount or shallow holes really need something stronger like epoxy to make sure your mounts don't break off.
Now we can test it by screwing in the rod and base.

The model stands very stable on just one peg and they Omni-Stand rods are steel so they can handle the weight without any problems.
Next we are going to use a Prussian Sky Fortress to show another method for models with widely spaced holes.

We need a smaller 1/8" drill bit for the pilot hole.. The Sky Fortress uses a longer base and the holes are spread out a lot more. We can't just pick one because the model would be way out of balance. So we have to make our own.
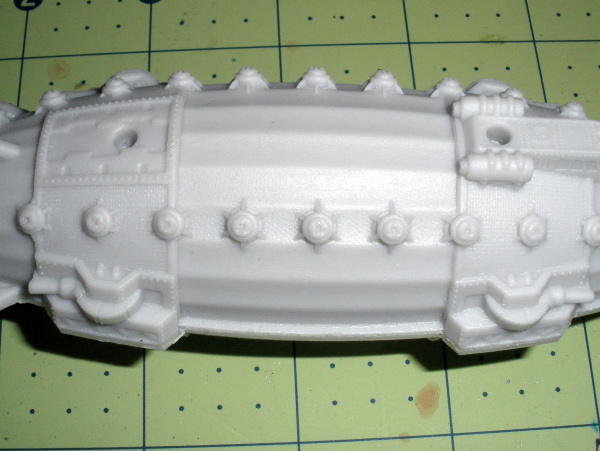
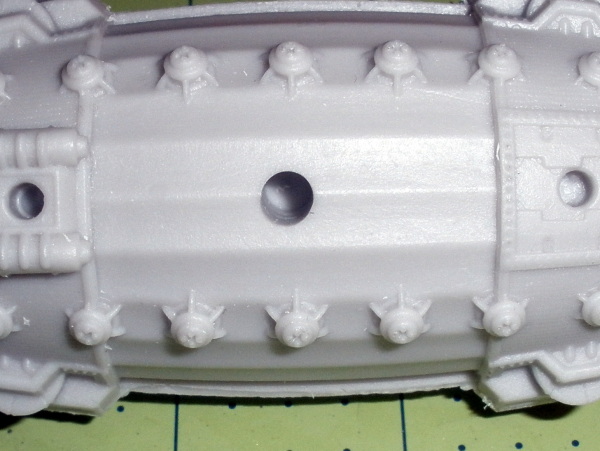
Start by making a notch in the center of the model. The Tesla coils are evenly spaced so it was easy to eye ball the center.

This notch helps us start the smaller hole. We start with the small 1/8" drill bit. It helps with precision to make the pilot hole first. The larger bit would have more tendency to walk and damage the model.

Now we can drill the larger 3/16" diameter hole.
Again this model is large enough to recess the entire mount in to the miniature. If you want to make it even more low profile you could use a 5/16" drill bit to counter sink the flange for the mount. Check out our resin base tutorial for more info on that technique.
The last step is to just glue the mount in place and your ready to go.

Now your ready to fly! The Omni-Stand system really shines in this situation because it is all but impossible to store this miniature with the basic stand. Now you can just unscrew the rod and it can be stored flat in a standard foam carrying case.

As an extra step you can use epoxy putty to fill the original holes and smooth out the look. Most of them are on the bottom so its not a big deal that they get filled in.